
Kitchen Backsplash Installation
From subway tile to full-slab marble panels, we install kitchen backsplashes that look clean and hold up to daily use.
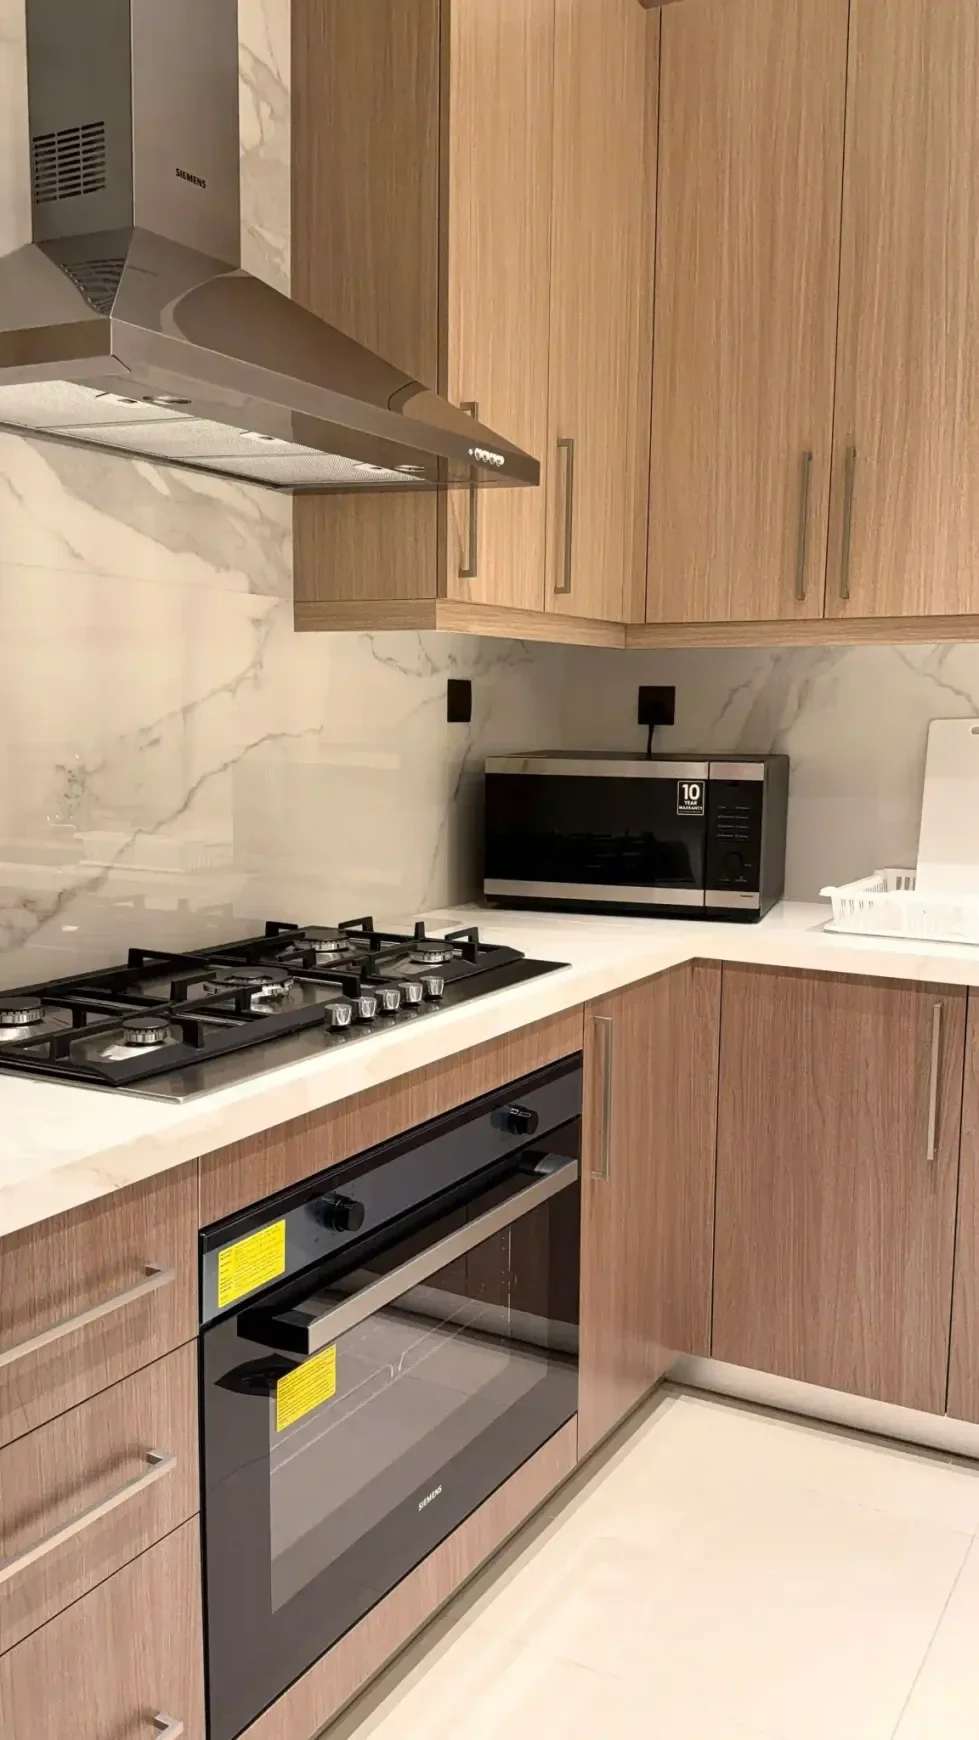
A kitchen backsplash is one of the most visible tile installations in a home. It sits at eye level, it is lit directly, and every grout joint is on display. Getting it right means more than just picking the tile, it means planning the layout so the pattern is centered and symmetrical, cutting around outlets cleanly, and caulking the counter-to-tile joint correctly so it does not crack when the countertop moves.
What the Job Actually Involves
Before any tile goes up, we check the wall surface. Drywall in kitchens is often painted with multiple coats, which can reduce adhesion. We use a suitable primer or skim coat when needed. Greenboard is not appropriate behind a tile backsplash because the paper face deteriorates with moisture exposure over time. If the existing backer needs replacement, we address that first.
Layout starts from the visual center of the most prominent run, typically the wall behind the range. We account for the outlet boxes, cabinet returns, and any window openings before snapping a single line. On herringbone and diagonal patterns, the center point shifts from where it would be on a straight-lay installation, and we plan accordingly.
Patterns and Formats We Install
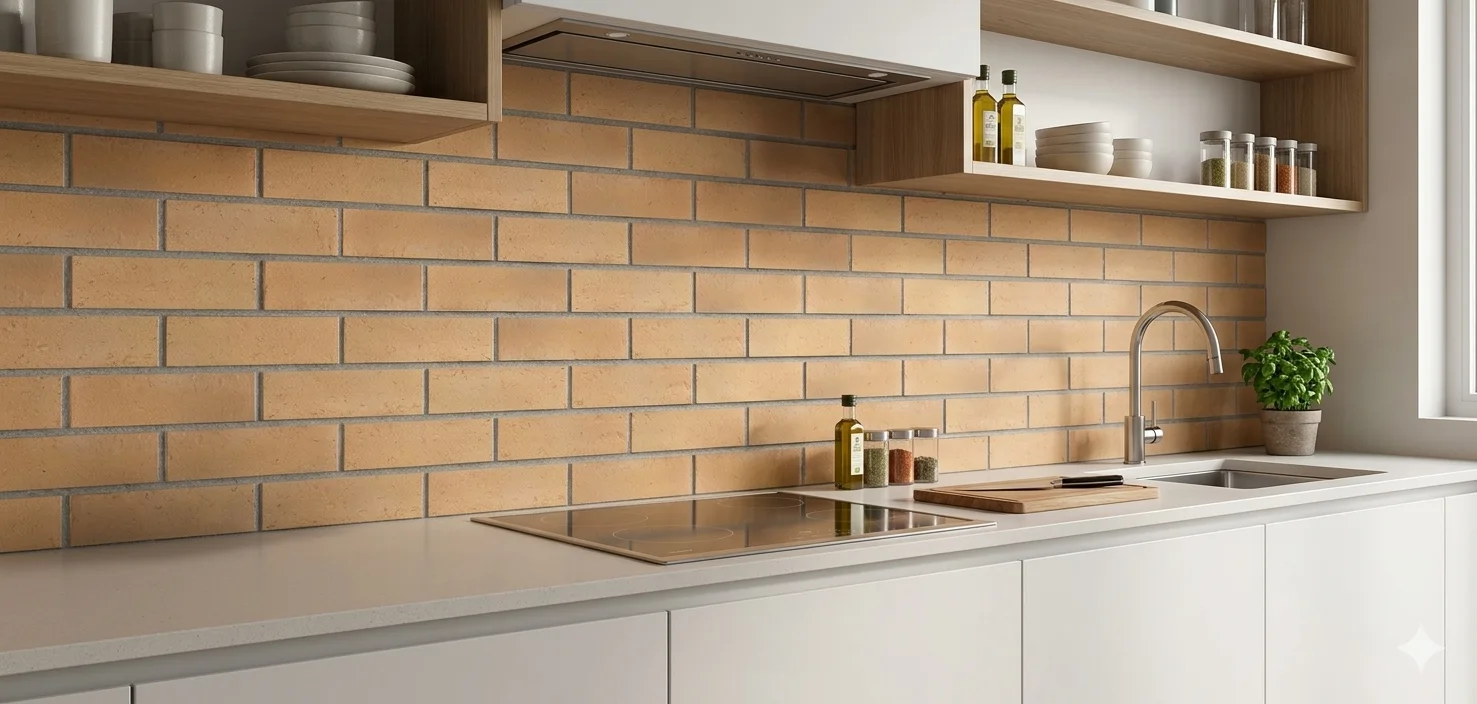
The most common backsplash format. We set 3x6 and 4x12 subway in straight-lay, brick-offset, and vertical stack. Grout joint width affects the final look significantly.
Requires more cuts and more time than straight patterns, but the diagonal movement reads well behind a range. We find the true center before starting so the pattern is balanced at both ends.
Glass, stone, and porcelain mosaic sheets on mesh backing. We use unsanded grout on most glass mosaic to avoid scratching. The mesh needs to be embedded fully in the mortar, not floating.
24x48 or larger porcelain slabs used as a single-slab or two-piece backsplash. Requires a flat wall and full back-butter coverage. Minimal grout joints give a seamless look.
The Details That Matter
Outlet boxes need to be extended when tile is added to the wall. We do not leave outlets sitting below the tile surface. The gap between the countertop and the first row of tile gets caulk, not grout, because the countertop and wall move independently. At the end walls and inside corners, we use caulk as well. These are the details that prevent the backsplash from cracking within a year or two.
Available Across Hays County
Kitchen backsplash installation is available in San Marcos, Kyle, and New Braunfels. Most backsplash projects are completed in a single day. Call us to discuss the tile you have in mind and we will walk through the layout options with you.
Backsplash projects move quickly once we have a plan. Call or send a message to get started.